How to Design Outdoor Living Spaces That Work Year-Round in the GTA
When we moved into our first house in Markham, the backyard was just a rectangle of grass with a concrete patio. We threw a couple of folding chairs on it and called it a day. But after one summer of eating dinner with mosquitoes and hauling the grill in and out of the shed, I realized we were missing the point. A backyard should feel like an extension of your home, not a neglected lot you occasionally visit. That realization pushed me into learning how to build outdoor living spaces that actually get used, not just looked at.
Over the years, working with homeowners across Scarborough and the GTA, I have seen the same mistakes over and over. People spend thousands on a fancy fire pit or a pergola, then never sit in the space because it is too hot, too cold, too buggy, or just not laid out in a way that makes sense. The trick is to treat the project like an interior room. You need zones, flow, and materials that can handle the freeze-thaw cycles of a Canadian climate. That is where the real expertise comes in.
Start with the Floor Plan
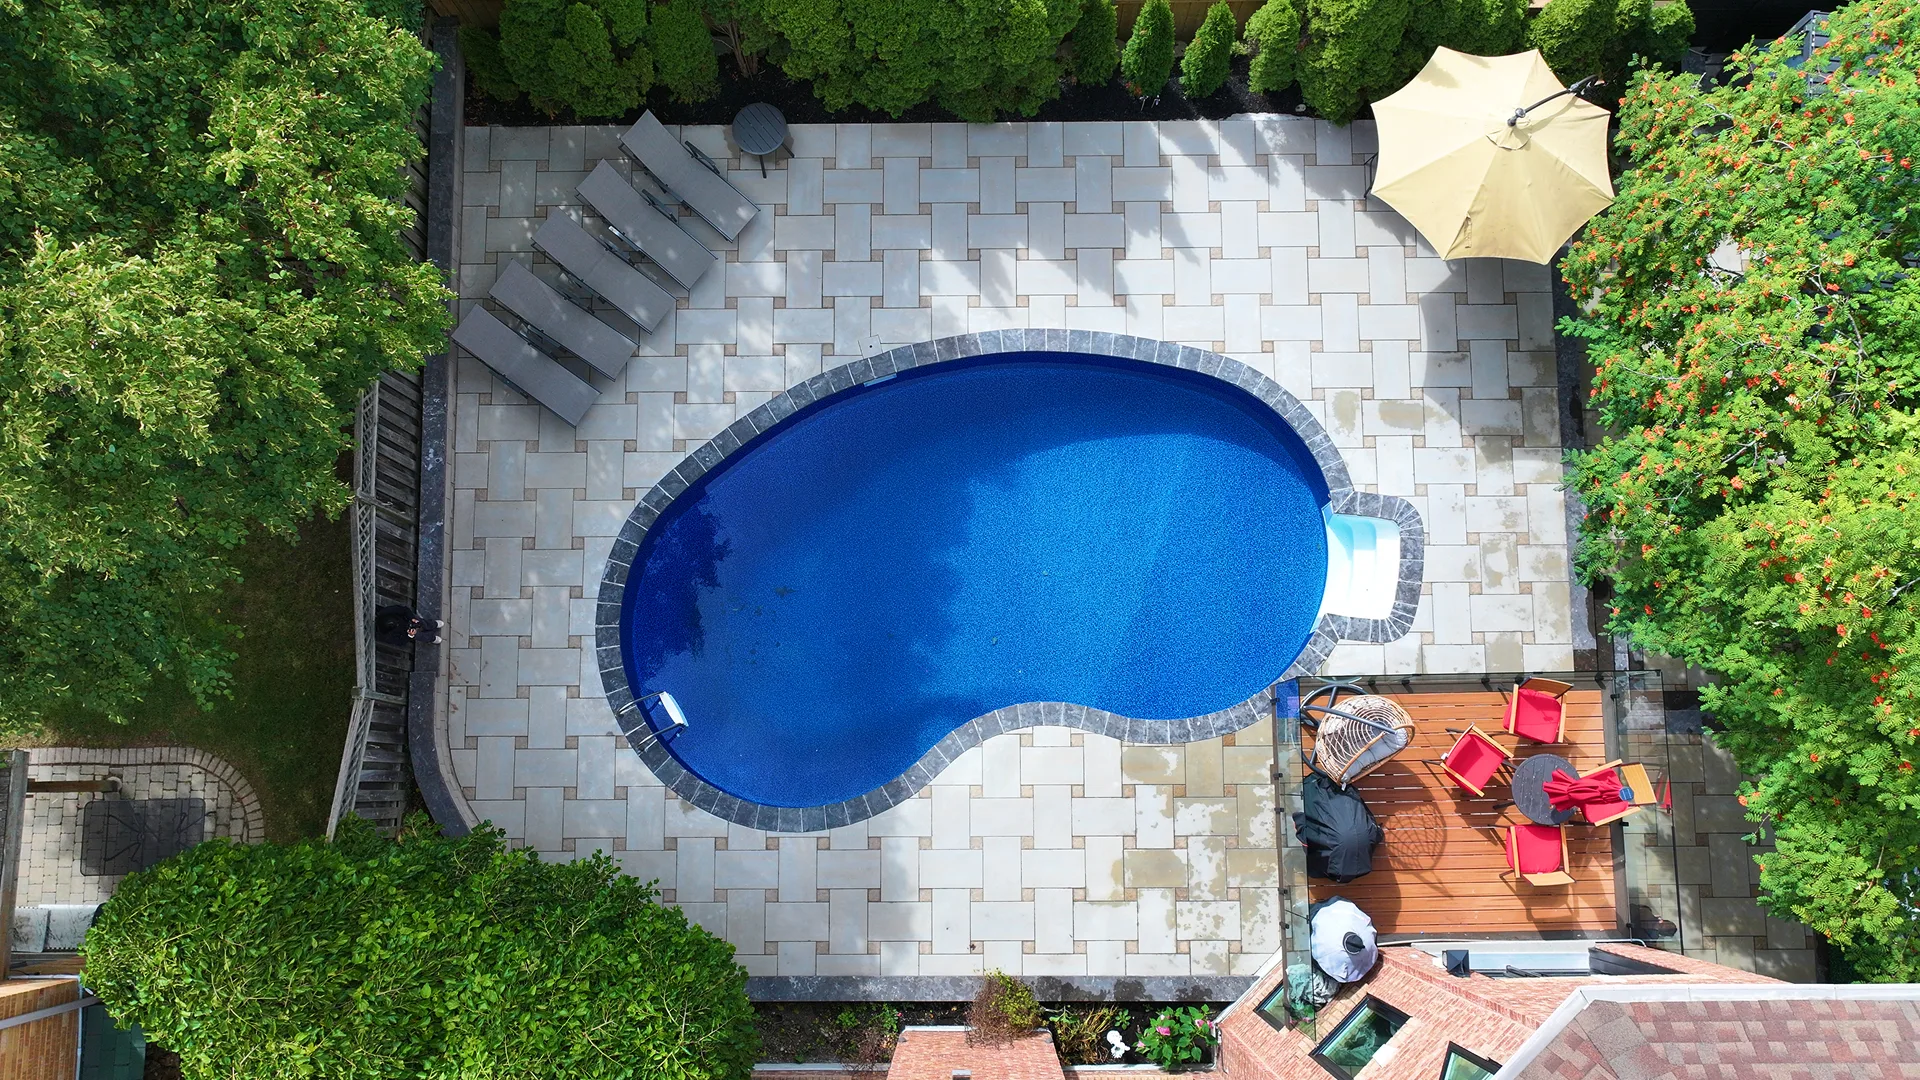
Every good outdoor room starts with the ground you stand on. In the GTA, that means thinking about drainage, frost heave, and the weight of snow. I have seen beautiful flagstone patios crack after one winter because the base was not compacted properly. A solid base of crushed stone and a layer of screenings, compacted in lifts, is non-negotiable. Interlocking pavers work well here because they move with the ground slightly and can be reset if they shift. They also come in patterns that let you define a dining area versus a lounging area without building a wall.
When I help clients plan their outdoor living spaces, I always recommend mapping the sun and wind first. A patio that bakes in the afternoon sun with no shade will sit empty from June through August. Conversely, a seating area in a low spot where rain collects will be unusable for days after a storm. Spend a season just observing your yard before you dig. Mark where the morning light hits, where the breeze comes from, and where water pools. That information is worth more than any fancy design software.
Define Zones, Not Just Furniture
A common mistake is buying a patio set and calling it a day. You end up with a table and chairs in the middle of the space and nothing else. Real outdoor living spaces need purpose. Think of it like a living room. You have a conversation area, a dining area, maybe a quiet reading nook. Outdoors, you can add a cooking zone near the grill, a fire pit zone for cool evenings, and a play zone for kids or pets.
Connect with us on Instagram.
I worked on a project last spring where the homeowners wanted a big entertaining space but had a narrow lot. Instead of pushing everything against the fence, we created a U-shaped layout with a low retaining wall as a seat wall on one side and planters on the other. The fire pit went in the center, and the dining table sat on a raised deck at the far end. That simple shift made the yard feel twice as big. The key was keeping the circulation paths clear. You should be able to walk from the grill to the table without stepping over a chair or a dog bed. Leave at least three feet of clear walkway around major furniture.
Materials That Survive the Seasons
This is where a lot of DIY projects fall apart. Pressure-treated wood is cheap, but it warps and splinters after a few seasons. Cedar and red cedar last longer but need sealing every two years. Composite decking has improved a lot, but cheap brands fade and get too hot in full sun. For patios and walkways, I lean toward natural stone or high-quality concrete pavers. They hold up to freeze-thaw cycles and can be cleaned with a pressure washer. Bluestone and limestone are beautiful but expensive. For a more budget-friendly option, look for concrete pavers that mimic stone without the price tag.
One thing I have learned the hard way: never skimp on the base. I have seen beautiful patios heave and crack because the homeowner tried to save money by using less gravel. In the GTA, the ground freezes deep, and anything sitting on a shallow base will move. A proper base is at least six inches of compacted granular material, plus a layer of sand or screenings. It adds cost upfront, but it saves you from tearing out the whole patio in three years.
Shade and Shelter
You cannot enjoy an outdoor space if you are dripping sweat or getting rained on. Shade is critical. Pergolas are popular, but they provide partial shade at best. If you want real relief from the sun, add a retractable canopy or plant a fast-growing tree like a maple or a serviceberry on the west side. I have also started using shade sails more often. They are inexpensive, easy to install, and you can take them down in the winter so they do not collect snow. Just make sure the anchors are set in concrete or bolted to a solid structure. A shade sail that pulls loose in a windstorm is a hazard.
For cooler weather, a fire pit or a propane heater extends the season by months. I prefer a natural gas fire pit connected to the house line over propane tanks. No running out of fuel mid-party, and no ugly tank sitting next to the seating area. But if you go with propane, build a small enclosure or a cabinet that hides the tank. It keeps the look clean and prevents tripping.
Lighting and Ambiance
Outdoor lighting does not have to be complicated, but it should be layered. Start with task lighting near the grill and the dining table. Then add ambient lighting along pathways and in seating areas. Low-voltage landscape lighting is easy to install and safe to touch. I like using warm white LEDs because they do not attract as many bugs as cooler temperatures. String lights draped over a pergola or between trees create a soft glow that feels inviting. Just make sure you use outdoor-rated fixtures and GFCI-protected outlets. Water and electricity do not mix, and GTA summers bring thunderstorms.
One trick I picked up from a client in Scarborough: use uplights on trees and shrubs to create depth. A well-lit tree at the far end of the yard draws the eye and makes the space feel larger. Downlights from a pergola or eaves create a cozy, intimate feel. Avoid floodlights that blast the whole yard. They wash out the ambiance and make the space feel like a parking lot.
Planting for Privacy and Beauty
No matter how nice your patio is, if you can see your neighbor's fence and hear their TV, it is not a retreat. Strategic planting can block sightlines and buffer noise. Evergreens like arborvitae or spruce provide year-round screening. Deciduous trees like oaks or maples give summer shade and let winter sun through. For a faster solution, use tall ornamental grasses or bamboo in containers. Just be careful with running bamboo because it spreads aggressively. Clumping bamboo is safer for small yards.
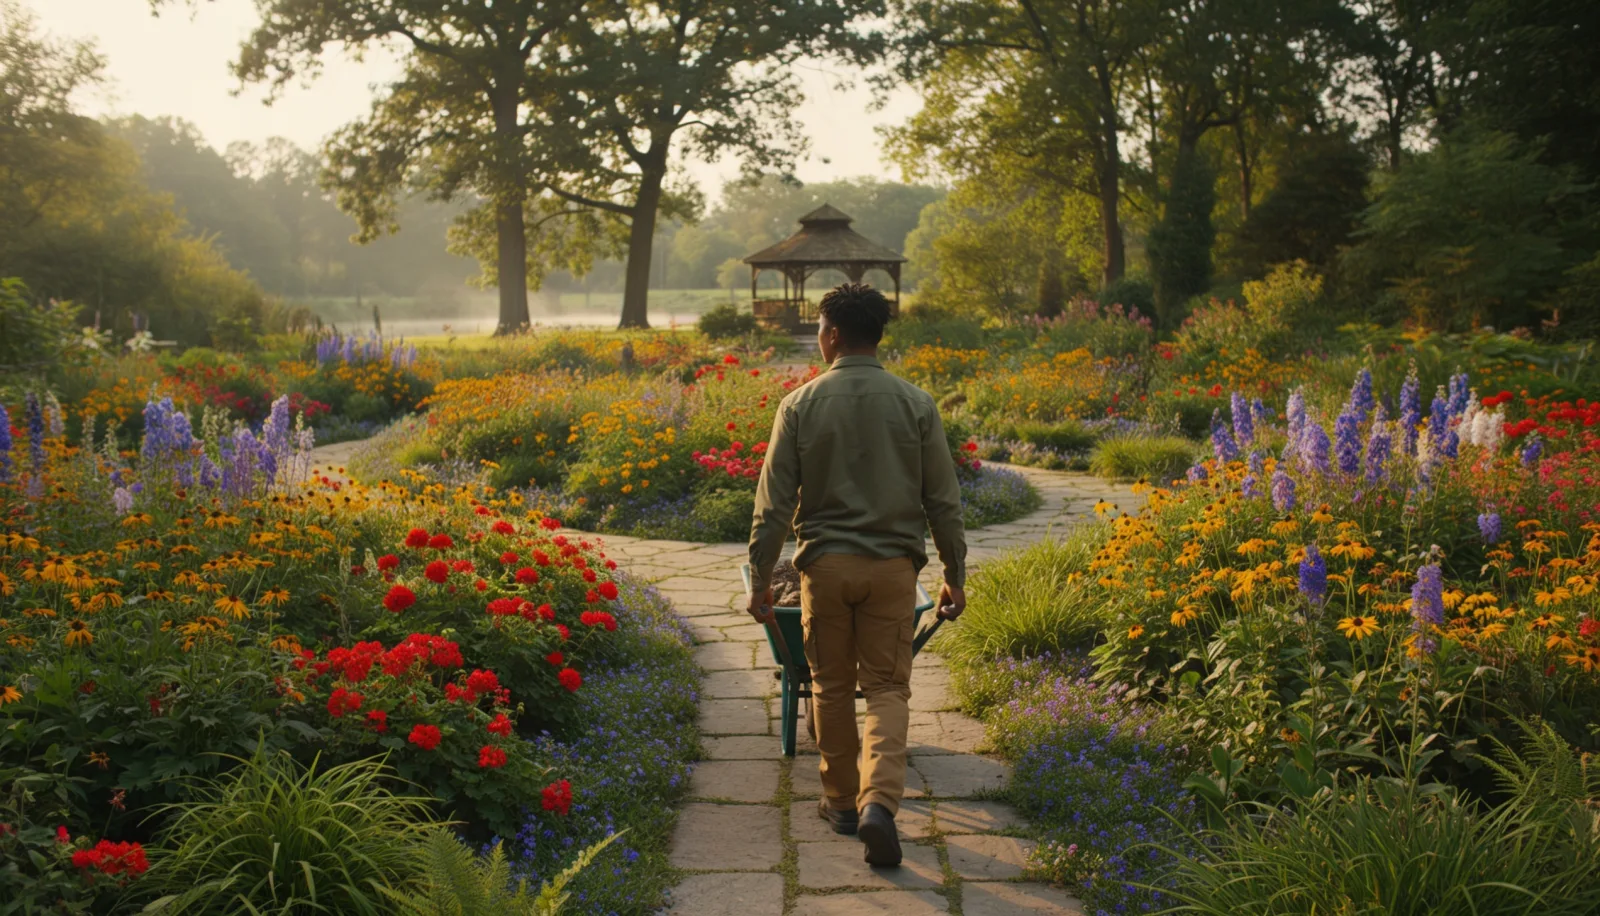
I always tell clients to choose native plants when possible. They need less water, resist local pests, and support pollinators. Serviceberry, ninebark, and coneflowers are tough, beautiful, and low maintenance. And they come back every year without fuss. Pair them with a layer of mulch to keep weeds down and moisture in. Cedar mulch smells great and lasts longer than bark, but it can be acidic, so test your soil pH if you are planting sensitive species.

Putting It All Together
Designing outdoor living spaces is not about following a trend or buying the most expensive furniture. It is about understanding how your family actually lives and how the yard behaves through the seasons. Start small if you need to. A well-designed corner with a bench and a fire pit is better than a sprawling patio you never use. Add pieces over time. The best outdoor rooms evolve, just like indoor ones.
If you are in the Markham, Scarborough, or GTA area and want to talk through your yard, reach out to a local team that has been doing this work since 2014. Jayden's Landscaping Markham, located at 5357 19th Ave, Markham, ON L3P 3J3, Canada, can be reached at +1 647-621-4219 for a free quote on landscaping, interlocking driveways, and backyard transformations.